8 Common Chimney Sealer Mistakes and How to Avoid Them
March 18, 2025 2025-03-18 17:288 Common Chimney Sealer Mistakes and How to Avoid Them
8 Common Chimney Sealer Mistakes and How to Avoid Them
Sealing a chimney might seem like a straightforward task, but it’s easy to slip up without the right knowledge. From choosing the wrong materials to overlooking essential steps, mistakes can lead to costly repairs and safety hazards. In this blog, we’ll explore the most common chimney sealer errors and share helpful tips to ensure your chimney is both effective and reliable.

1. Neglecting to Clean the Chimney First
Skipping a thorough cleaning can cause the sealer to adhere poorly. Creosote and soot build-up needs to be cleared to ensure the sealer has a clean surface to bond with, enhancing its longevity and effectiveness.
Before starting the sealing process, all debris and residues must be thoroughly cleaned. This preliminary step is not just about improving adhesion but also about identifying potential issues. Sometimes, hidden structural damage only becomes evident after a thorough cleaning. This could mean the difference between a successful sealing job and one that might require redoing due to unforeseen damages.
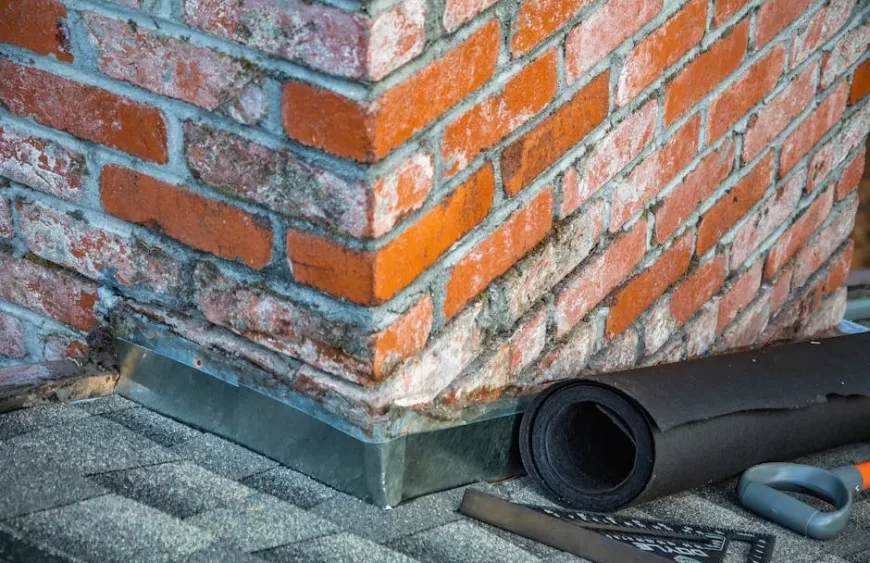
2. Using the Wrong Type of Sealer
Not all sealers are created equal. It’s crucial to select a product specifically designed for chimneys to withstand high temperatures and weather conditions. Using the wrong type can lead to cracks and leaks.
Selecting the right sealer isn’t just about matching physical properties; it often involves careful consideration of the chimney material. For those dealing with masonry chimneys, it’s essential to find a sealer that penetrates the porous surface for long-lasting protection. In contrast, metal chimneys will require a different approach entirely. Skipping these distinctions can lead to significant structural damage, costing far more than the initial outlay for quality sealers.
3. Ignoring Weather Conditions
Applying sealer in the wrong weather can cause it to fail. Avoid sealing when it’s wet or extremely cold, as these conditions can prevent the sealer from curing properly.
Weather conditions do not only impact the immediate curing process, but they can also affect long-term durability. When a sealer is inadequately cured, it may leave small, invisible cracks that become evident as leaks or deteriorations over time. Moreover, extreme temperatures might compromise the flexibility and adhesion of the sealer, emphasizing the need for ideal weather conditions when planning such projects.
It’s often tempting to push forward when the weather isn’t ideal, especially if your schedule is packed. However, taking a moment to account for the next few days’ forecast could save you from having to peel back layers and start anew. Sealing during clear, temperate conditions helps you avoid unnecessary complications, ensuring the job is done right the first time.
4. Overlooking Crack Repairs Before Sealing
Ignoring existing cracks and damage before sealing will simply mask underlying issues. Fix cracks with appropriate materials to prevent them from worsening and undermining the sealer’s effectiveness.
Even minor cracks can lead to significant structural problems if left unaddressed. These fissures offer water and cold a path into the chimney, contributing to freeze-thaw cycles that exacerbate the initial damage. By using a high-quality mortar repair solution before sealing, you can ensure these paths are eliminated, preserving the integrity of the entire chimney structure.
5. Applying Sealer Too Thickly or Thinly
Achieving the right balance is vital. A uniform application ensures adequate coverage; too thick and it won’t cure, too thin and it won’t protect. Follow manufacturer guidelines for the best results.
Having a steady hand and a keen eye for detail is key when applying sealer. It’s not uncommon for excess product to form bubbles or run down the chimney during application, particularly if the surrounding air is humid. Optimal thickness typically involves applying multiple coats according to manufacturer specifications, allowing each layer to cure properly and provide comprehensive protection.
6. Ignoring Regular Maintenance
Once sealed, regular inspections are necessary to catch and address wear and tear early. A neglected chimney can lead to more significant issues down the road despite having been sealed.
Routine inspections don’t just help catch potential issues early—they are the backbone of a preventive maintenance strategy. Consider setting reminders for biannual inspections, timed to coincide with the changing of seasons. As conditions shift from warm to cold, and vice versa, the structural integrity of the chimney can be tested. A comprehensive inspection checklist can be invaluable in ensuring no detail is overlooked.
7. Not Allowing Adequate Curing Time
Rushing the curing process weakens the seal. Follow the manufacturer’s recommended curing time before exposing the chimney to moisture or heat to ensure a robust seal.
The curing process is a delicate balance of patience and precision. Atmospheric moisture can severely interrupt this process, which often dictates that the sealer must be protected from unexpected rain or mist during its initial hardening phase. Employing makeshift coverings, like tarps whose weight is judiciously monitored, can help protect the integrity of the curing material while still allowing airflow.
8. Attempting DIY When Unsure
Chimney sealing might require more expertise than anticipated. If you feel unsure or the task seems overwhelming, it’s best to hire a professional to avoid costly mistakes.
It’s natural to feel capable of handling home maintenance DIY-style. However, missteps in chimney sealing can result in expensive repairs or even hazardous conditions. Professional insights lend peace of mind, ensuring precision and thoroughness in each step of the process. By considering expert consultation at critical junctures, you guard against pitfalls and maximize the lifespan and performance of your chimney sealant.


